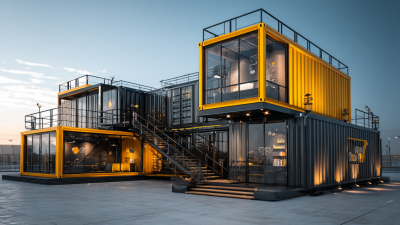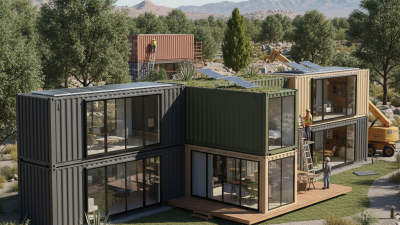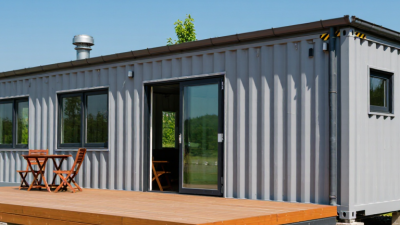

Creating a storage container office can turn a plain steel box into a practical, comfortable workspace. The process requires more than adding a desk and electricity. You must examine the container’s condition, site access, local approval requirements, insulation needs, ventilation, and workplace safety. A 20-foot container may fit a compact office, but every wall opening reduces usable space. Measure twice.
This guide explains how to plan the conversion with advice grounded in construction practice and professional installation standards. It covers selecting a wind- and watertight container, preparing a stable foundation, installing insulation, managing condensation, and designing efficient lighting. It also considers doors, windows, heating, cooling, fire protection, and accessible entry. A qualified electrician should handle the power system, while structural cuts should be reviewed by an experienced fabricator or engineer. Small mistakes can become expensive. Poor ventilation, for example, may create damp surfaces and uncomfortable air within weeks.
A reliable project also needs a realistic budget and schedule. Delivery charges, crane access, internal lining, plumbing, and exterior weatherproofing are easy to underestimate. Cheap insulation may appear attractive, yet it can perform poorly in extreme temperatures. Reconsider the plan before construction begins. Will the office remain usable in summer? Can cables be repaired later? Does the foundation protect the container from standing water? Careful answers help create a safe, durable storage container office rather than a temporary-looking room that requires constant correction.
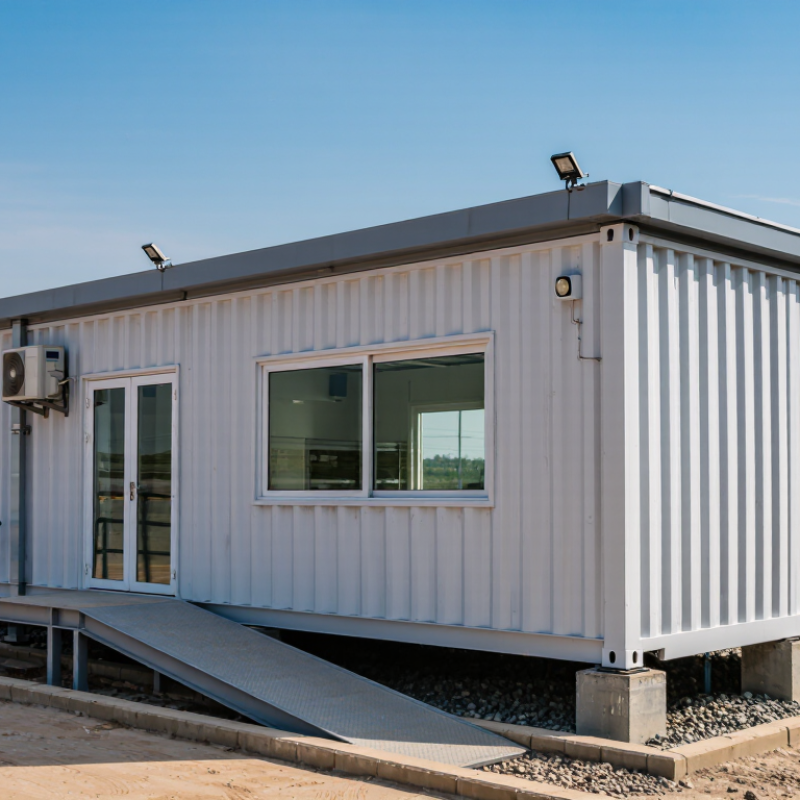
How to Set Up a Storage Container Office?
Survey the Site and Verify ISO 668 Container Dimensions and Access
A reliable container office begins with a measured site survey, not a quick visual check. Record ground levels, drainage paths, overhead cables, soil condition, and nearby structures. A 20-foot standard container measures about 6,058 millimeters long and 2,438 millimeters wide externally. A 40-foot unit measures about 12,192 millimeters long. Both are generally 2,591 millimeters high under ISO 668:2020. High-cube units reach approximately 2,896 millimeters. Small errors matter.
Leave working clearance around every side. Allow space for lifting equipment, door swing, ventilation, and future maintenance. A delivery vehicle may need more room than the container itself. Check gate width, road weight limits, turning space, slopes, and overhead obstructions. The World Bank’s Logistics Performance Index 2023 highlights how infrastructure reliability affects transport performance; your final site must support predictable access, not merely occasional delivery.
Measure twice.
Confirm the container’s external dimensions against the supplier’s drawings. ISO 668 defines nominal sizes, but corner fittings, door hardware, and damaged frames can reduce usable clearance. I once treated a narrow entrance as “probably adequate”; that assumption created unnecessary repositioning work. It was avoidable. Mark the route with stakes, then test the tightest turn using the delivery vehicle’s specifications. A level, compacted base is also essential, because uneven settlement can distort doors and affect office partitions. Clearance should be checked again after placement.
Before positioning a container office, verify the available site length, route width, overhead clearance, ground condition, and placement area. The chart compares typical external ISO 668 dimensions for standard 20-foot, standard 40-foot, and 40-foot high-cube containers.
A standard 20-foot container is approximately 6.058 m long, while a standard 40-foot container is approximately 12.192 m long. Both are approximately 2.438 m wide. Standard height is approximately 2.591 m, and high-cube height is approximately 2.896 m. Confirm the supplier's certified dimensions and allow additional site clearance for transport, lifting, doors, drainage, and safe access.
Choosing the right container size shapes every later decision. A 20-foot unit usually provides about 14 m² of usable floor area after insulation and interior lining. It can fit one or two desks, compact storage, lighting, and a small meeting corner. A 40-foot unit offers roughly 28 m², giving space for several workstations, a restroom, or a separated consultation room.
These figures are practical estimates, not guaranteed dimensions. Wall insulation, framing, windows, and electrical panels reduce the original internal space. I recommend drawing the layout with actual furniture measurements before ordering modifications. Leave a clear walkway near the entrance. A desk that fits on paper may block the door when a chair is pulled out.
Natural light improves comfort, but large windows can increase heat gain and reduce wall space. Position windows carefully, then plan ventilation and heating or cooling capacity for the local climate. An experienced electrician should design protected circuits, outlets, and cable routes. Grounding and moisture control deserve attention, especially where the floor meets the steel shell.
Check site access, foundation requirements, emergency exits, and local approvals before installation. A 40-foot container may provide valuable working space, yet transport and placement can be more complicated. The smaller unit is easier to position and may cost less to operate, but limited storage can become frustrating quickly. Reconsider the layout after a trial setup; real movement often reveals problems that drawings miss.
How to Set Up a Storage Container Office?
A 30,480 kg rated container needs more than desks and electrical outlets. Its rating usually describes maximum gross mass, not automatic lifting capacity. Confirm the container’s condition, structural markings, and approved lifting points before planning any movement. A qualified structural engineer should review the conversion, especially after cutting openings for doors, windows, or ventilation. Every opening changes the load path.
The lifting plan should show the container’s actual weight, center of gravity, lifting radius, and ground conditions. Include crane capacity at the planned radius, sling angles, shackles, spreader beams, and exclusion zones. Keep sling angles controlled; shallow angles can multiply leg forces quickly. Check wind limits and never rely on visual judgment alone. The site supervisor should inspect lifting gear, confirm clear communication, and record the pre-lift briefing.
Small details matter.
For office use, place the container on level foundations that match local soil conditions. Use verified corner support, drainage, insulation, fire-safe wiring, and protected cable entries. Heavy equipment should stay near structural support points. A 30,480 kg rating does not mean the floor accepts unlimited concentrated loads.
I have seen layouts fail because cabinets blocked emergency exits or air movement. That mistake is easy to prevent, yet often missed. Recheck the drawings after furniture arrives. Real offices rarely match the first sketch.
How to Set Up a Storage Container Office?
A storage container office needs more than insulation placed between metal walls. Begin with the adopted energy code for your climate zone. Its required R-values guide the roof, walls, and floor assembly. Check the code edition used by your local authority. Requirements can change.
Use continuous insulation where possible. It reduces thermal bridging through steel ribs and framing. Seal joints around doors, windows, and service penetrations with durable air-sealing materials. A small gap matters. Metal surfaces can collect condensation quickly, especially during cold mornings. Include a properly located vapor-control layer, based on the local climate and wall design. Interior finishes should not trap hidden moisture.
Ventilation requires a separate calculation. ASHRAE 62.1 typically combines outdoor airflow per person with airflow per floor area. The correct rate depends on occupancy, office use, zone air distribution, and system ventilation efficiency. Count real occupants, not the container’s maximum furniture capacity. A compact office may still need steady mechanical ventilation when windows remain closed. Place the outdoor-air intake away from exhaust outlets and dusty loading areas.
On site, verify insulation thickness and sealant continuity before closing the walls. Photographs help document concealed work. I have seen attractive interiors fail because the floor edge was ignored. That detail deserves inspection. Heating and cooling loads should be checked after the envelope is defined, not guessed from container size alone. Local review remains essential.
| Design Category | Planning Basis | Reference Value | Application to a Storage Container Office | Verification or Design Note |
|---|---|---|---|---|
| Project Assumptions | ||||
| Container module | Converted steel storage container used as a single-story office module | Approx. 8 ft exterior width; internal dimensions vary by container length and manufacturer | Confirm actual internal clear dimensions before sizing insulation, finishes, furniture, and mechanical equipment. | Structural modifications around doors, windows, and openings require review by a qualified professional. |
| Climate design basis | Example code benchmark for a heating-dominated mixed climate | 2021 IECC commercial Climate Zone 4 example | Use the adopted local energy code and jurisdictional climate zone for the final design. | R-value requirements vary by climate zone, building use, construction type, and code edition. |
| Thermal-bridge condition | Steel container shell with highly conductive structural members | Continuous insulation is preferred over insulation placed only between steel members | Install a continuous thermal layer to reduce thermal bridging, condensation risk, and interior surface temperature variations. | Whole-assembly performance can be lower than the nominal insulation R-value because of steel bridging. |
| Envelope R-Value Schedule | ||||
| Roof or ceiling | Insulation installed continuously above the container roof or below a ventilated secondary roof | R-30ci example prescriptive benchmark for many commercial roof assemblies in Climate Zones 4–8 | Provide a continuous roof insulation layer; protect it with a durable roof membrane or over-roof assembly. | Coordinate roof drainage, snow loads, fire classification, membrane compatibility, and equipment penetrations. |
| Above-grade metal-framed wall | Steel shell with an interior service cavity and continuous insulation | R-13 + R-7.5ci example benchmark for Climate Zone 4 metal-framed walls | Use cavity insulation plus continuous insulation where practical; avoid relying solely on insulation between steel ribs. | Confirm the exact wall category in the adopted energy code because steel container walls do not automatically match conventional metal-framed wall assemblies. |
| Floor over exterior or unconditioned space | Container floor exposed to outdoor air or a ventilated support frame | R-30 example benchmark for Climate Zone 4 floors | Insulate beneath or within a protected floor assembly and install an air barrier continuous with the wall system. | Protect insulation from rodents, water, impact, and wind washing; maintain required clearances from combustible materials. |
| Fenestration | Low-e insulated glazing with thermally improved framing | Use the adopted code’s maximum U-factor and solar heat gain coefficient limits | Limit window area where cooling loads are significant and shade sun-exposed glazing. | Window performance must be selected by climate zone, orientation, daylight requirements, and local energy code. |
| Air barrier | Continuous air-control layer at the warm side or exterior side of the insulation system | Continuous, sealed, and durable air barrier required by most modern energy codes | Seal panel joints, corners, fasteners, window perimeters, service penetrations, and utility entries. | Use compatible tapes, sealants, gaskets, and transition membranes designed for the expected temperature and moisture exposure. |
| Moisture and condensation control | Steel shell remains a potential condensing surface | Design based on local climate, indoor humidity, vapor-control requirements, and dew-point analysis | Keep the steel shell inside the conditioned thermal envelope where possible, or provide continuous exterior insulation. | Do not close the assembly before checking cold-weather interior surface temperatures and drying potential. |
| ASHRAE 62.1 Outdoor-Air Ventilation Calculation | ||||
| Private office | 2 occupants; 320 ft² zone area | Rp = 5 cfm/person; Ra = 0.06 cfm/ft²; default occupant density = 5 people/1,000 ft² |
Vbz = Rp × Pz + Ra × Az 5 × 2 + 0.06 × 320 = 29.2 cfm |
Assumes an air-distribution effectiveness of 1.0; adjust the required outdoor airflow if the selected air-distribution system has a different effectiveness. |
| Conference or meeting room | 4 occupants; 80 ft² zone area | Rp = 5 cfm/person; Ra = 0.06 cfm/ft²; default occupant density = 50 people/1,000 ft² |
Vbz = Rp × Pz + Ra × Az 5 × 4 + 0.06 × 80 = 24.8 cfm |
Use the expected design occupancy when it is higher than the default density or when the room has a known scheduled capacity. |
| Total example outdoor air | Private office plus conference room operating at design occupancy | Sum of breathing-zone outdoor-air requirements | 29.2 + 24.8 = 54.0 cfm minimum breathing-zone outdoor air | The final system outdoor-air intake may need to be higher after applying zone air-distribution effectiveness, system ventilation efficiency, occupancy diversity, and control requirements. |
| Ventilation control | Dedicated outdoor-air intake or balanced mechanical ventilation | Provide measurable outdoor airflow rather than relying only on operable windows | Use a filtered intake, exhaust path, balancing dampers, and controls that prevent short-circuiting between intake and exhaust openings. | Coordinate ventilation with heating and cooling capacity so that outdoor-air loads do not create excessive humidity or drafts. |
| Recommended Assembly Sequence | ||||
| 1. Inspect and prepare the shell | Check corrosion, welds, roof condition, floor preservatives, and structural openings | Repair defects before insulation and interior finishes | Clean and prime exposed steel; provide corrosion protection at cuts, penetrations, and welded areas. | Confirm that any floor treatment is suitable for the intended occupied use and local regulations. |
| 2. Install the thermal envelope | Prioritize continuous insulation at the roof, walls, and floor | Target the applicable code R-values listed above | Use a framed service cavity inside the container so electrical and data services do not repeatedly puncture the air barrier. | Maintain insulation continuity at corners, base-of-wall junctions, roof edges, doors, and windows. |
| 3. Seal the air barrier | Detail all joints and penetrations before closing walls | Continuous air-control layer | Perform a visual inspection and, where required, blower-door or pressurization testing. | Air leakage can cause energy loss and concealed condensation even when nominal R-values are adequate. |
| 4. Install mechanical ventilation | Size outdoor-air delivery from the occupied-zone calculation | Example minimum breathing-zone outdoor air: 54.0 cfm for the two-zone layout above | Provide filtration, balancing, condensate management, and accessible maintenance points. | Final equipment selection must account for sensible and latent loads, local design temperatures, duct losses, and code-required exhaust. |
A storage container office needs more than insulation and furniture. Confirm its permitted use, site location, foundation, and utility connections with the local building department. Code requirements vary by region, climate, and occupancy type. A qualified designer should prepare drawings before any cutting begins. That step can prevent expensive revisions.
Hire licensed electrical and plumbing professionals for the permanent services. Install a main disconnect, grounded circuits, protected outlets, and suitable lighting. Keep cables away from sharp steel edges. Plumbing may require frost protection, backflow prevention, and tested drainage. Include ventilation for toilets and occupied rooms. Water leaks hide quickly inside finished walls.
Fire safety deserves careful planning. Use approved materials, smoke alarms, emergency lighting, and extinguishers where required. Maintain clear access to every exit. Doors must open freely, and escape routes cannot become storage areas. Check travel distances, door widths, ramps, handrails, and accessible routes against local rules. A second exit may be necessary, depending on occupancy and container layout.
Small details matter. Condensation can damage insulation and wiring. Steel floors can create unexpected grounding problems. The first layout is rarely perfect, so review it with inspectors before installation. Keep inspection records, product certificates, and updated drawings on site. A practical office is not finished when the walls look clean; it is finished when people can use it safely and legally.